
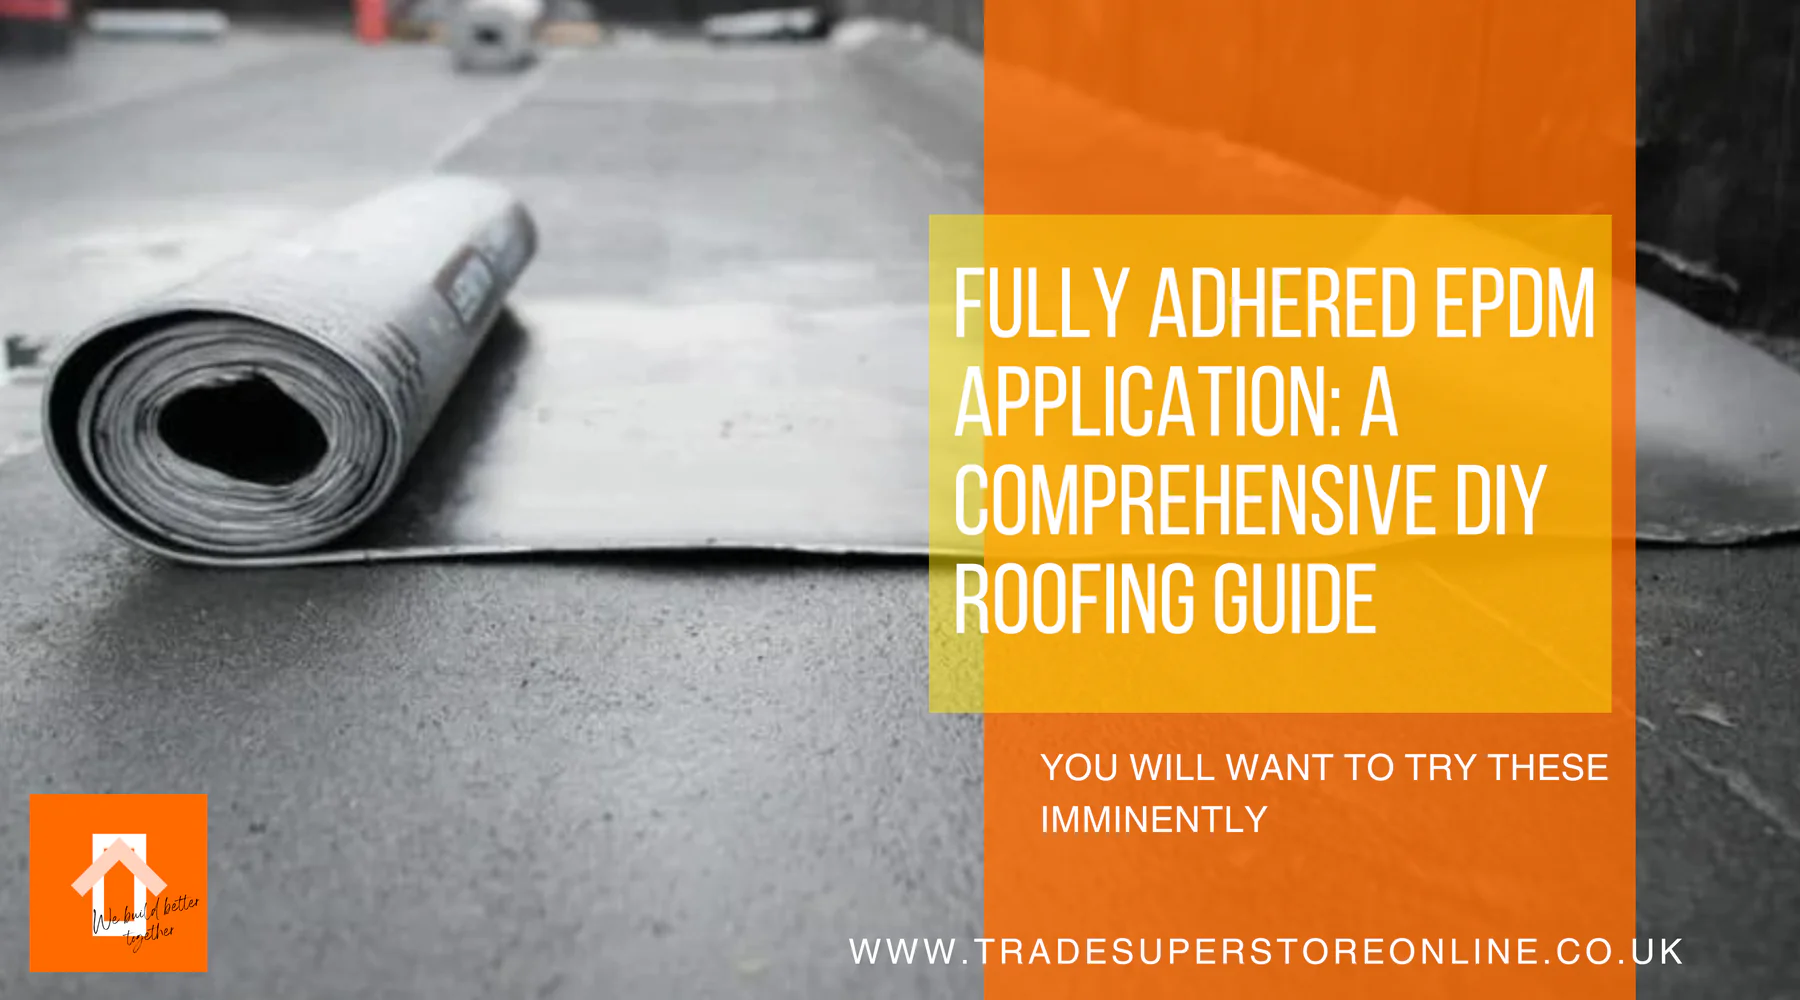
Fully Adhered EPDM Application: A Comprehensive DIY Roofing Guide
Applying EPDM membrane is a reliable and efficient roofing technique that ensures durability and weather resistance. This step-by-step guide will walk you through the process, from preparing the substrate to securing the membrane. Whether you're a professional roofer or a DIY enthusiast, following these instructions will help you achieve a flawless EPDM application.
Step 1: Preparing the Substrate and Positioning the Membrane
Begin by ensuring the substrate is properly prepared. Lay out the EPDM membrane onto the roof, making sure it overhangs the roof perimeters and upstands to allow for trimming later. Position the membrane carefully for a precise fit.
Step 2: Relaxing the Membrane

Once the membrane is laid in place, let it relax for about 30 minutes. In colder weather, this waiting time might be longer to allow any folds to dissipate. Apply the membrane from the center of the roof outward, folding excess membrane back onto the roof to remove wrinkles. This makes the application easier and smoother. Then, fold the sheet back onto itself, exposing approximately half of the roof substrate.
Step 3: Applying the Adhesive

Use a 9” roller to apply water-based bonding adhesive to the timber substrate only. This adhesive should not reach the perimeter edges of the roof deck, as Bonding Adhesive will be applied there later.
Step 4: Laying the Membrane

Lay the membrane into the wet adhesive, ensuring no stress or wrinkles are present. Smooth the membrane with a soft bristle broom, gradually increasing pressure to remove entrapped air and wrinkles. Do not stretch the sheet during this process.
Step 5: Repeating the Procedure

Roll back the other half of the membrane, leaving approximately 100mm of the already applied adhesive visible. Repeat the adhesive application and membrane laying process. The water-based adhesive can take a few hours to fully grab the membrane, depending on the ambient temperature. Bonding Adhesive around the perimeter edges will secure the sheet during this period.
Important Notes on Adhesive Application

For surfaces like polyisocyanurate insulation board or concrete, apply Bonding Adhesive to both the substrate and the back of the membrane. Allow it to become tacky before applying the membrane. Broom the surface to ensure sufficient contact.

Step 6: Handling Protrusions

When encountering chimneys, skylights, or other protrusions, apply the membrane around these obstacles. Measure the width and depth of the protrusion, transfer these dimensions onto the folded membrane, and draw an X inside the marked box.
Step 7: Cutting and Rolling the Membrane

Cut a straight line from the nearest edge of the membrane to one corner, then cut along the X mark lines. Roll the membrane around the protrusion, leaving a triangle that turns up on all four sides. Adhere these upstands using Bonding Adhesive.
Step 8: Continuing the Bonding Process

After cutting and laying the membrane around all obstructions, continue with the rest of the bonding procedures.


Additional Securement for Large Areas
For fully-adhered installations over 100 sq. m, additional securement with Reinforced Perimeter Fastening (RPF) strips, V-plates, and All-Purpose fasteners is required. These should be attached at the upstand and perimeter edges. Refer to the "Mechanically Fixed Application" section for further details.
Please see our Elevate EPDM Firestone Rubber FAQs here.
See our Elevate EPDM Firestone Rubber installation guides here.
Conclusion
By following these steps, you can ensure a successful and durable EPDM application. Remember to use EPDM Rubber Primer and the right adhesives for the substrate type, and pay attention to weather conditions during installation. This DIY roofing guide will help you achieve professional results, making your roof secure and weatherproof.