
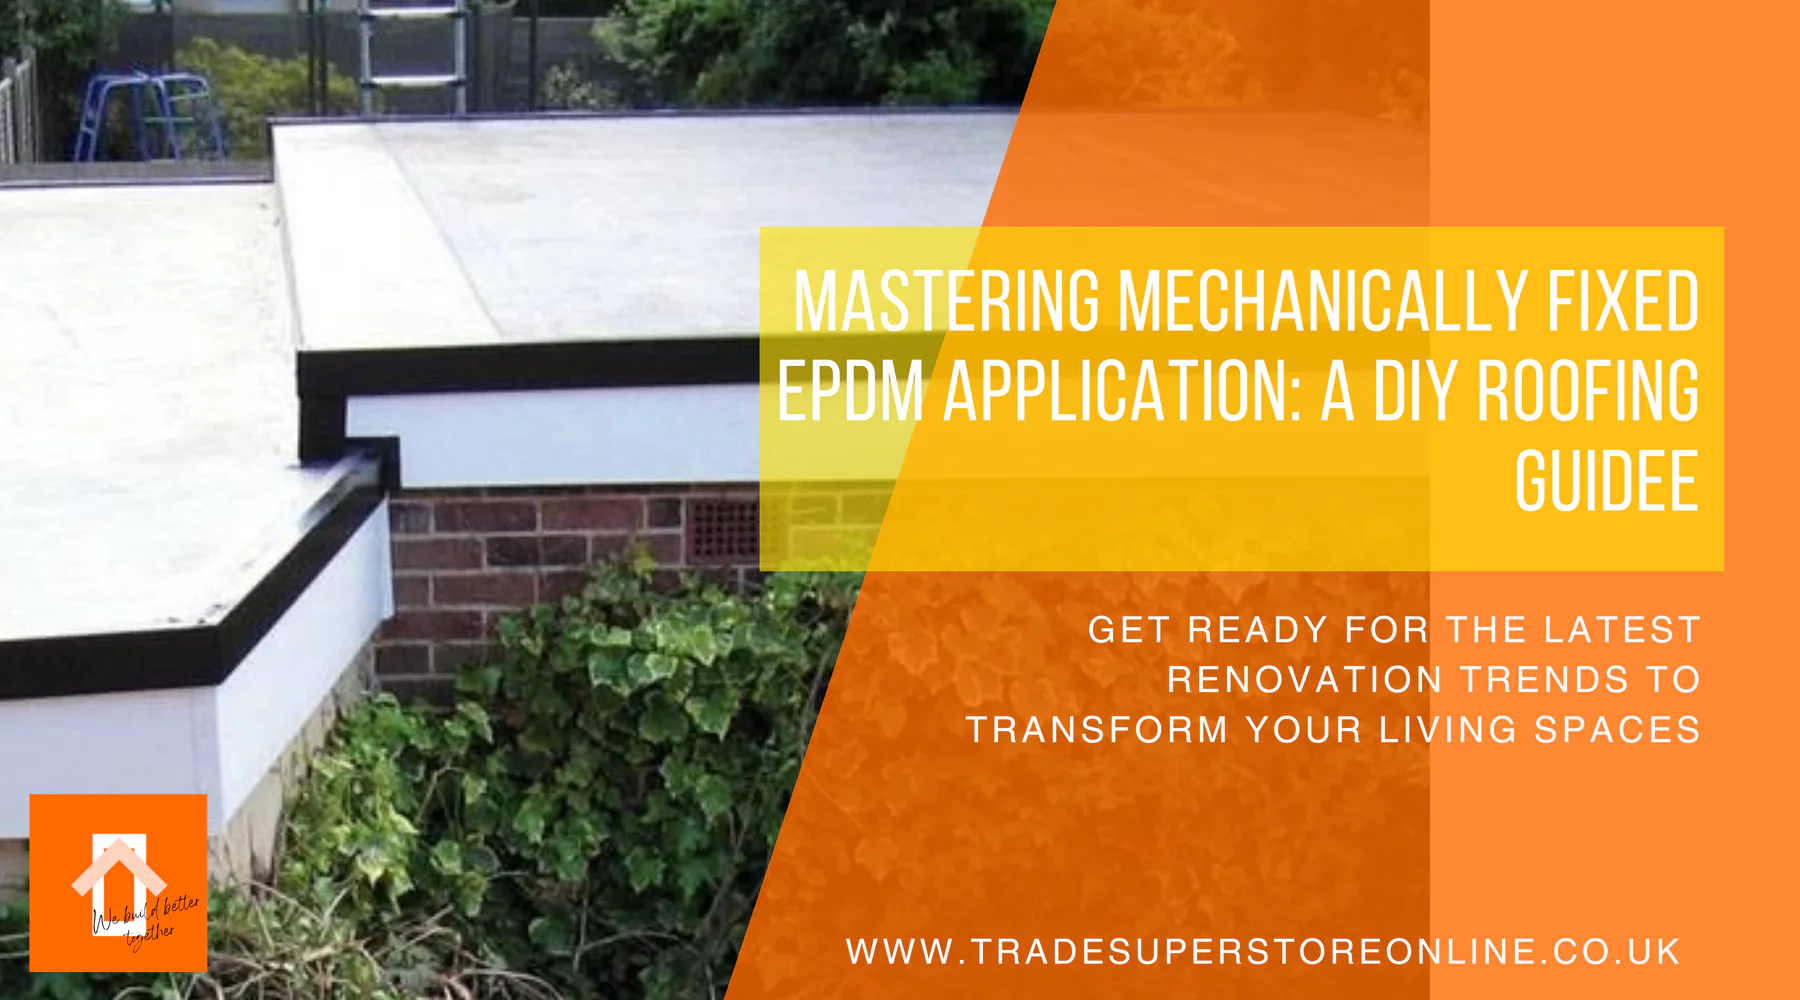
Mastering Mechanically Fixed EPDM Application: A DIY Roofing Guide
When it comes to roofing techniques, a mechanically fixed EPDM application offers a robust and reliable solution. This method ensures long-lasting durability and weather resistance, making it ideal for various roof types. Whether you're a DIY enthusiast or a professional, this guide will provide you with the steps to achieve a successful EPDM application.
Step 1: Preparing the Roof Surface
Before you begin, it's essential to prepare the roof surface properly. While removing the existing waterproofing from the main part of the roof is ideal, ensure the roof deck is structurally sound. Remove perimeter edge waterproofing, upstands, and loose materials like felt chippings. Once the surface is clean and swept, lay the geotextile undercushion to protect the membrane from the rough substrate.

Step 2: Securing the Perimeter Edges and Upstands
At all perimeter edges and upstands, mechanically attach the RUSS (Reinforced Universal Securing Strip) to the substrate. Secure the geotextile undercushion underneath these strips using V-plates and All-purpose fasteners, ensuring each fixing goes into solid timber, such as joists. This is crucial because chipboard decking lacks pull-out resistance. If the deck is plywood, close-boarded timber, or concrete, fixings can be made anywhere.

Step 3: Fixing Pattern and Wind Uplift Considerations
The distance between the RUSS strips should be approximately 1 meter apart. For higher wind uplift areas, place the strips closer together. Consult a Permaroof expert for specific guidance on strip placement to ensure maximum stability.

Step 4: Laying and Positioning the EPDM Membrane
With the RUSS and geotextile undercushion securely in place, lay out the EPDM membrane onto the roof, ensuring enough overhang for trimming later. Allow the membrane to relax for about 30 minutes, or longer in cold weather, to eliminate folds. Apply the membrane from the center of the roof towards the perimeter edges, folding it inward to expose the RUSS.


Step 5: Cleaning the RUSS and Membrane
Clean the RUSS and the underside of the EPDM sheet with Splice Wash and a cotton rag. This ensures a clean surface for adhesion.

Step 6: Applying Splice Adhesive
Once the Splice Wash evaporates, apply Splice Adhesive to both the RUSS and the underside of the EPDM membrane. Wait until the adhesive becomes tacky.

Step 7: Mating the Surfaces
Check that the Splice Adhesive is tacky and then mate the two surfaces together. Repeat this procedure for each RUSS strip.

Step 8: Completing the Membrane Application
Work in one direction along the width of the roof first, then apply the membrane to the strips running down the roof length. Once the membrane is secured to all RUSS strips, proceed with the rest of the installation as described in the "Perimeter Edges and Upstands" section.
Important Notes
- Install RUSS strips at all round pipe penetrations larger than 125mm square and skylights.
- For fully adhered installations over 100 square meters, incorporate the RUSS and Splice Adhesive method, but without the geotextile undercushion. The membrane should be fully adhered directly to the substrate.
Please see our Elevate EPDM Firestone Rubber FAQs here.
See our Elevate EPDM Firestone Rubber installation guides here.
Conclusion
Mastering the mechanically fixed EPDM application technique requires attention to detail and proper preparation. By following these steps and using EPDM Rubber Primer and Splice Adhesive, you can achieve a secure and durable roofing solution. This DIY roofing guide ensures that your EPDM application is both efficient and effective, providing long-lasting protection for your roof.